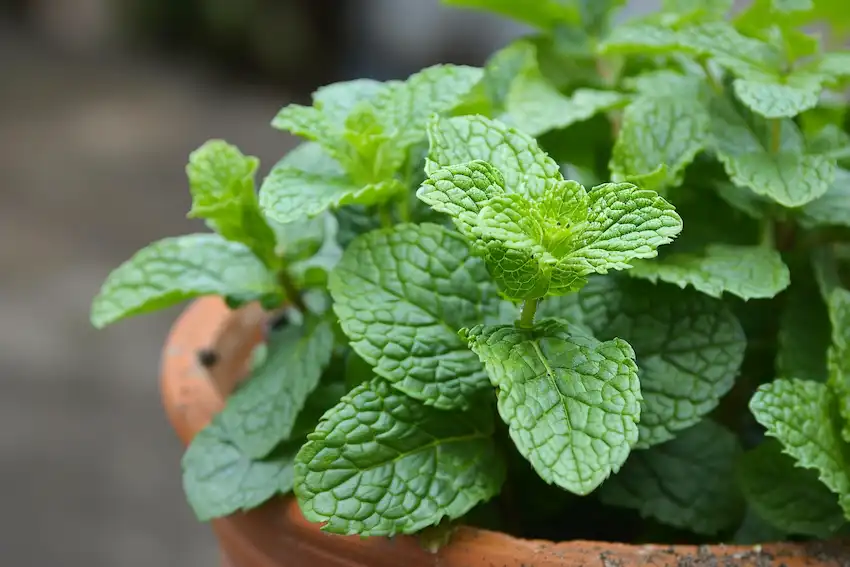
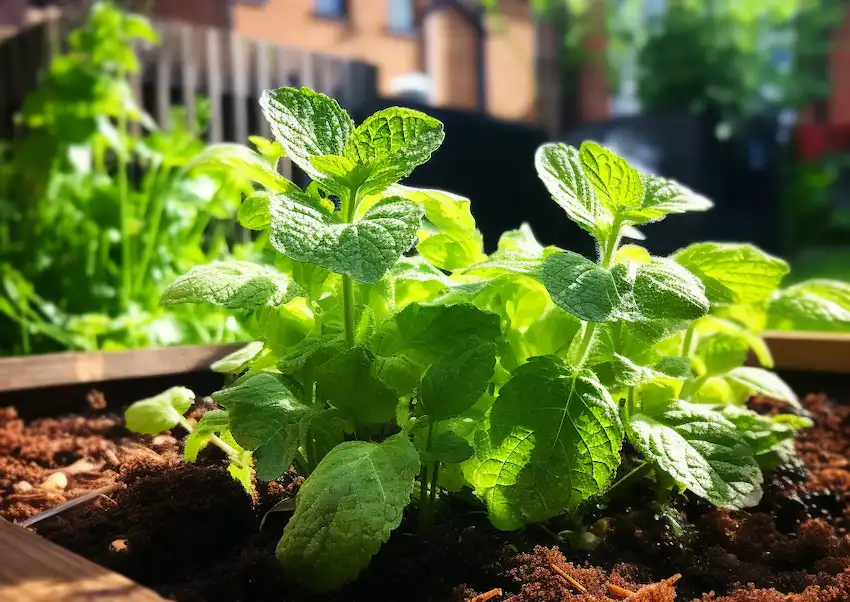
Propagating Mint: A Comprehensive Guide to Growing a Lush Mint Garden from Cuttings
Mint is a remarkably versatile and vigorous plant, cherished for its aromatic leaves and wide array of culinary and medicinal uses. Propagating mint from a single cutting is a straightforward process that can yield a thriving mint garden. Whether you’re an experienced gardener or just starting out, this guide will walk you through the essential steps to successfully propagate mint, along with tips for enhancing growth and maintaining plant health.
Why Propagate Mint?
- Versatility: Mint can be used in cooking, tea, cocktails, and for medicinal purposes, making it a valuable addition to any garden.
- Ease of Propagation: Mint is known for its ability to root easily, making it ideal for propagation from cuttings.
- Vigorous Growth: Once established, mint grows rapidly and can be used to create a lush, aromatic garden.
Materials Needed
- Mint cuttings
- A clean container or glass jar
- Water
- Potting soil (optional)
- Dish soap (optional, for pest control)
Steps to Propagate Mint from Cuttings
1. **Select Healthy Cuttings
- Choose the Right Plant: Select a healthy mint plant to take cuttings from. Ensure that the plant is free from pests and diseases.
- Take Cuttings: Use clean, sharp scissors or pruning shears to take cuttings. Each cutting should be about 4-6 inches long and have at least a few sets of leaves.
- Prepare Cuttings: Remove the lower leaves from the cuttings, leaving just a few sets of leaves at the top. This prevents the leaves from rotting under water or soil.
2. **Rooting in Water
- Place Cuttings in Water: Place the prepared cuttings in a clean container or glass jar filled with water. Ensure that the leaf nodes (where the leaves were removed) are submerged, but the leaves themselves are above the waterline.
- Change Water Regularly: Refresh the water every few days to prevent stagnation and ensure the cuttings have a constant supply of oxygen.
- Watch for Roots: After a few weeks, you should start to see roots developing from the submerged nodes. When the roots are about 1-2 inches long, the cuttings are ready to be transplanted.
3. **Transplanting to Soil
- Prepare Containers: Fill pots or containers with a well-draining potting mix. Mint prefers soil that is rich in organic matter and has good drainage.
- Plant Cuttings: Gently plant the rooted cuttings in the prepared soil. Space them about 6-8 inches apart to allow for their vigorous growth.
- Water and Care: Water the newly planted cuttings thoroughly. Keep the soil consistently moist but not waterlogged.
4. **Enhancing Growth and Plant Health
- Sunlight: Mint thrives in partial shade to full sun. Ensure your mint plants receive adequate light for healthy growth.
- Fertilization: Mint generally doesn’t require heavy fertilization. However, you can use a balanced fertilizer or compost to support growth.
- Pest Control: Mint can attract pests like aphids and spider mites. To manage pests naturally, mix a few drops of dish soap with water and spray it on the plants. This solution helps deter pests without harming the plants.
Additional Tips
- Avoid Overwatering: Mint prefers moist soil but does not tolerate waterlogged conditions. Ensure proper drainage to prevent root rot.
- Pruning: Regularly trim and prune your mint plants to encourage bushier growth and prevent them from becoming leggy.
- Containment: Mint can spread aggressively. Consider growing it in containers or using barriers to contain its growth and prevent it from overtaking other plants.
Conclusion
Propagating mint from cuttings is a rewarding and straightforward process that allows you to grow a thriving mint garden with minimal effort. By following these steps and tips, you can successfully propagate mint, enhance its growth, and maintain its health. Enjoy the fresh aroma and versatile uses of homegrown mint in your culinary creations and garden.
