In the realm of gardening, some of the most valuable tips are passed down through generations, shared by seasoned gardeners with a deep respect for nature. One such treasure is the use of yeast in the garden. While yeast is widely known for its role in baking, it also offers remarkable benefits for plants, acting as a natural fertilizer, growth stimulant, and soil enhancer. This article explores the advantages of using yeast in gardening and provides a detailed guide on how to integrate it into your garden care routine.
### Why Use Yeast in Your Garden?
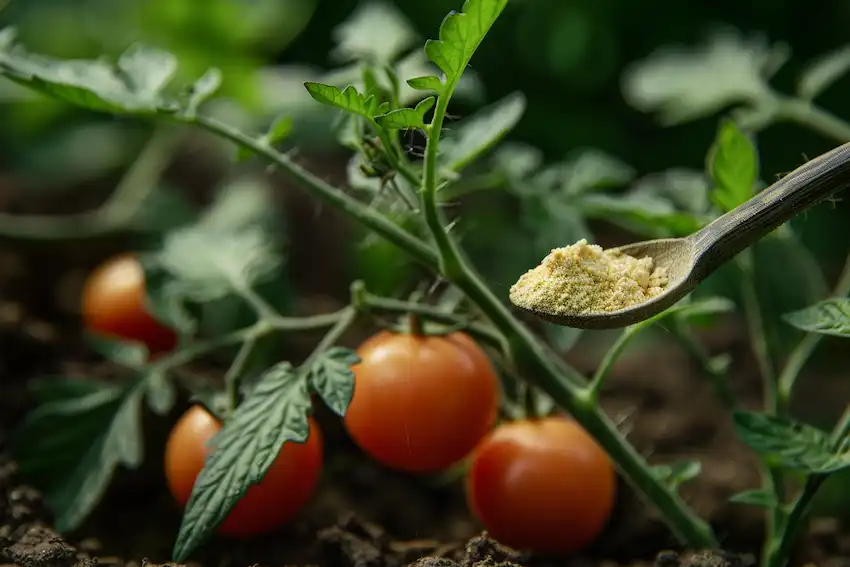
**Yeast, particularly baker’s yeast, is a nutrient-rich powerhouse that offers several benefits for plant health:**
– **Boosts Plant Growth:** Yeast encourages root development and overall plant growth by supplying essential nutrients and enhancing nutrient absorption.
– **Improves Soil Quality:** It helps improve soil structure and boosts microbial activity, which aids in the decomposition of organic matter and makes nutrients more accessible to plants.
– **Strengthens Plant Immunity:** The natural compounds in yeast support the plant’s defense mechanisms, increasing its resilience against diseases and pests.
– **Eco-Friendly Fertilizer:** Utilizing yeast reduces the need for chemical fertilizers, making it a more sustainable and environmentally friendly option for gardeners.
### How to Use Yeast in Your Garden: A Step-by-Step Guide
**Creating a yeast solution is both simple and cost-effective. Here’s how you can prepare and apply it:**
**Ingredients:**
– 1 tablespoon of dry baker’s yeast
– 1 teaspoon of sugar (to feed the yeast)
– 2 liters of warm water (ensure it’s not too hot, as high temperatures can kill the yeast)
– A large container or bucket
**Instructions:**
1. **Activate the Yeast:** In a small bowl, dissolve the sugar in half a cup of warm water. Add the dry yeast, stir gently, and let it sit for 10-15 minutes until it becomes frothy, indicating that the yeast is active.
2. **Prepare the Yeast Solution:** Pour the activated yeast mixture into a large container or bucket. Add the remaining warm water, stirring gently to combine.
3. **Application:** Water your plants with the yeast solution, focusing on the base of the plants to ensure the roots can absorb the nutrients. For the best results, use the solution immediately after preparation, as the yeast’s active compounds are most effective when fresh.
4. **Frequency:** Apply the yeast solution every 2-3 weeks during the growing season to support ongoing plant health and growth.
### Safety and Considerations
**While yeast is beneficial, it’s important to use it responsibly:**
– **Avoid Overuse:** Excessive yeast can disrupt the soil’s balance and potentially harm plant roots. Use the solution in moderation.
– **Monitor Plant Responses:** Keep an eye on your plants for any signs of adverse reactions and adjust the application frequency as necessary.
Incorporating yeast into your gardening practices honors the wisdom of those who have come before us, leveraging natural resources to enhance the health and vitality of your garden. This straightforward yet effective method supports sustainable gardening practices and fosters a harmonious relationship with the environment. So, the next time you use yeast in your kitchen, remember its benefits extend beyond baking, offering a powerful boost to your garden’s growth and resilience.