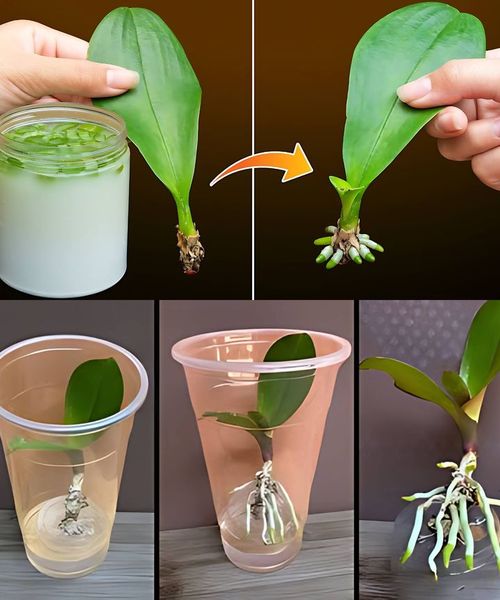
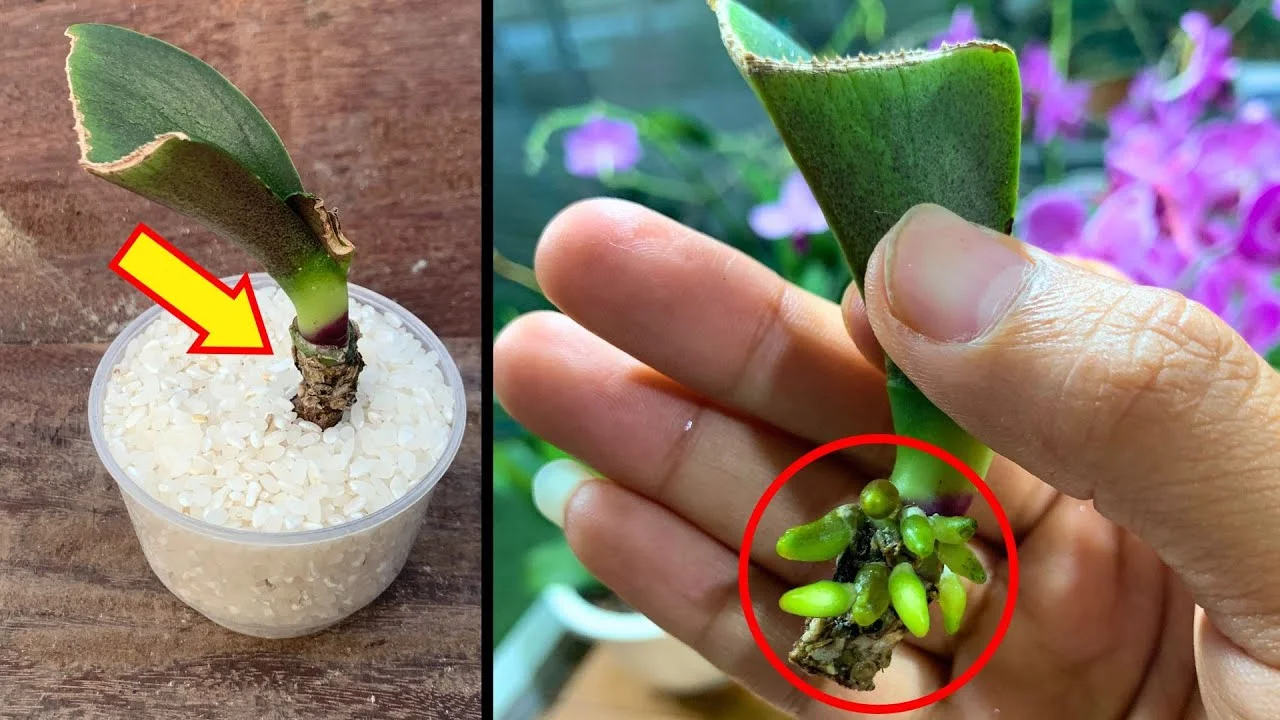
Reviving Orchid Leaves: A Magical Method to Restore Vibrancy
Orchids are prized for their exquisite beauty and complex flowers, but their leaves can sometimes show signs of distress. If you notice wilting or yellowing leaves, don’t fret. There’s a straightforward method to revive your orchid and restore its natural vibrancy. Here’s a step-by-step guide to help you bring your orchid back to health.
Understanding Orchid Leaf Distress
Before you start the revival process, it’s important to understand why orchid leaves may become unhealthy. Common causes include:
- Overwatering or Underwatering: Both can stress the plant, causing leaves to wilt or yellow.
- Insufficient Light: Orchids need bright, indirect light. Too much direct sunlight can burn leaves, while too little can make them pale and droopy.
- Nutrient Deficiency: Lack of essential nutrients can affect leaf health.
- Pests and Diseases: Mites, aphids, and fungal infections can damage leaves.
The Magical Revival Method
Step 1: Inspect and Clean the Leaves
- Inspect for Pests: Look for visible pests such as mites or aphids. Gently remove them with a soft cloth or a gentle water spray.
- Clean the Leaves: Dust and grime can block light absorption. Wipe the leaves with a damp cloth to remove any dust or debris.
Step 2: Rehydrate the Orchid
- Soak the Roots: Fill a bowl with room-temperature water and place the orchid’s pot in the water for 15-20 minutes. This allows the roots to absorb moisture thoroughly.
- Drain Excess Water: After soaking, make sure the pot drains well to prevent root rot.
Step 3: Create a Humidity Chamber
- Humidity Boost: Orchids thrive in humid environments. Create a mini greenhouse by placing the orchid in a clear plastic bag, ensuring the bag doesn’t touch the leaves.
- Leave for 24-48 Hours: This will boost humidity around the plant.
Step 4: Provide Optimal Lighting
- Indirect Light: Place the orchid in a location with bright, indirect sunlight. Avoid direct sunlight to prevent leaf burn.
- Rotate Regularly: Rotate the plant every few days to ensure even light exposure on all sides.
Step 5: Nutrient Boost
- Feed the Orchid: Use a balanced orchid fertilizer to provide essential nutrients. Follow the instructions on the fertilizer package for proper dosage and frequency.
Step 6: Maintain Ideal Conditions
- Consistent Care: Ensure consistent watering, appropriate light, and regular feeding.
- Monitor Environment: Keep the temperature between 60-80°F (15-27°C) and maintain humidity levels of 50-70%.
Long-term Leaf Health
To prevent future distress, follow these long-term care tips:
- Proper Watering: Water only when the potting mix is dry to the touch. Avoid overwatering.
- Regular Cleaning: Wipe leaves periodically to keep them free from dust and pests.
- Routine Feeding: Fertilize regularly during the growing season. Reduce feeding during the dormant phase.
By following these steps, you can effectively revive your orchid’s leaves and maintain their health and vibrancy. Orchids may require a bit of extra care, but their beauty makes every effort worthwhile.

