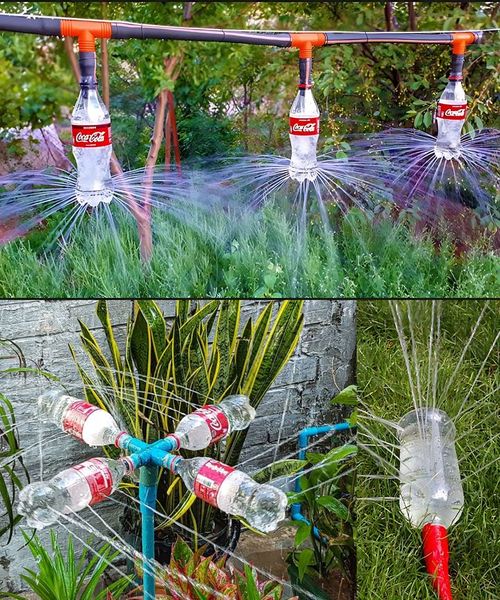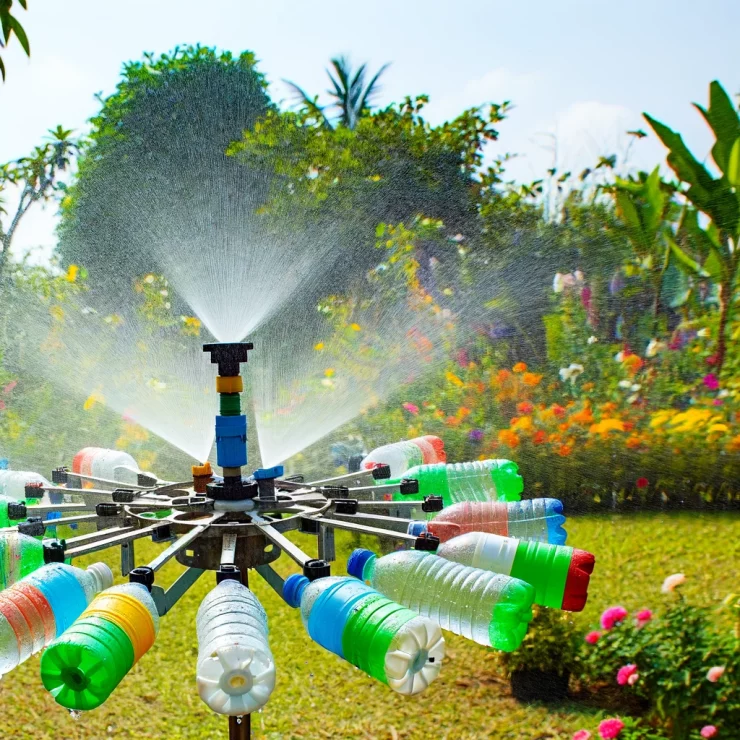
Creating a rotating irrigation system using plastic bottles is a fantastic way to reuse materials and provide water to your garden effectively. Below is a step-by-step guide to building this simple and affordable system for just 10 cents.
Materials Needed
- Plastic Bottles: 2 large bottles (1.5 to 2 liters each)
- Bamboo Skewer or Metal Rod: To act as the rotating axle
- Thin Tubing or Straws: For creating water jets
- String or Thin Wire: To secure parts
- Scissors or Craft Knife: For cutting the bottles
- Awl or Nail: To make holes
- Hot Glue or Waterproof Adhesive: For sealing connections
Step 1: Prepare the Bottles
- Clean the Bottles: Wash out both bottles to remove any residue.
- Cut One Bottle (Reservoir): Cut off the top of one bottle to create a funnel shape—this will act as your water reservoir.
- Cut the Second Bottle (Water Wheels): Remove the bottom of the second bottle, then cut it in half lengthwise to create two curved sections. These will become your water wheels.
Step 2: Create the Water Wheels
- Attach the Tubing or Straws: Use hot glue to attach straws or thin tubing along the curved edge of the bottle pieces. These will act as water jets when the system spins.
- Seal the Connections: Ensure that all the connections are properly sealed with glue to prevent leaks.
Step 3: Assemble the Rotating System
- Insert the Skewer or Rod (Axle): Push the bamboo skewer or metal rod through the center of the first bottle (the reservoir). This rod will serve as the axle for the system to rotate on.
- Attach the Water Wheels: Attach the two curved pieces from the second bottle onto the skewer, positioning them opposite each other for balance. Secure them tightly with string or wire to prevent wobbling.
Step 4: Make Water Inlet Holes
- Punch Holes in the Reservoir: Using the awl or nail, punch a few small holes near the bottom of the reservoir bottle. These holes will allow water to drip out and hit the straws on the water wheels, propelling the system to rotate.
Step 5: Set Up the System
- Position the System: Place the completed irrigation system in the garden where water needs to be distributed. Ensure it is positioned to spray water evenly around your plants.
- Elevate the Reservoir: Elevate the water reservoir by placing it on a stand or hanging it slightly above the ground. This allows gravity to create a steady water flow.
Step 6: Add Water
- Fill the Reservoir: Pour water into the top of the bottle reservoir. As the water flows through the holes, it will spray from the straws, rotating the system and dispersing water.
Tips for Optimal Performance
- Check Balance: Ensure that the water wheels are balanced properly on the axle to avoid jerky rotations.
- Adjust Water Flow: If the rotation is too slow or too fast, you can modify the number or size of holes in the reservoir to control the flow.
- Maintenance: Regularly check for clogs in the straws and clean any debris that might block water flow.
By using this simple design, you can build a rotating irrigation system for your garden. It’s an easy, eco-friendly solution that repurposes plastic bottles and ensures efficient water distribution.