Growing Watermelons in Containers: A Comprehensive Guide
Cultivating watermelons in containers is a fantastic way to enjoy fresh, homegrown fruit even if you have limited space. With the right approach, you can grow healthy watermelon plants and enjoy the sweet rewards of your labor. Here’s a step-by-step guide to successfully growing watermelons in containers.
1. Selecting the Appropriate Container
- Size: Opt for a container with a minimum capacity of 20 gallons. This size provides sufficient space for the watermelon’s extensive root system.
- Depth: Ensure the container is at least 24 inches deep. This depth is crucial for accommodating the root system and allowing the plant to thrive.
- Drainage: Good drainage is essential. Choose a container with several drainage holes at the bottom to prevent waterlogging and root rot.
2. Choosing the Right Watermelon Variety
- Container-Suitable Varieties: Select miniature or bush types that are more suited for container gardening. Varieties such as ‘Sugar Baby’ or ‘Bush Sugar Baby’ are ideal due to their compact growth habits.
- Space Considerations: Watermelons are vining plants, so ensure the variety you choose matches the size of your container and the space you have available.
3. Soil and Planting
- Soil Mix: Use a nutrient-rich, well-draining potting mix. Enrich the mix with compost or aged manure to provide essential nutrients and improve soil structure.
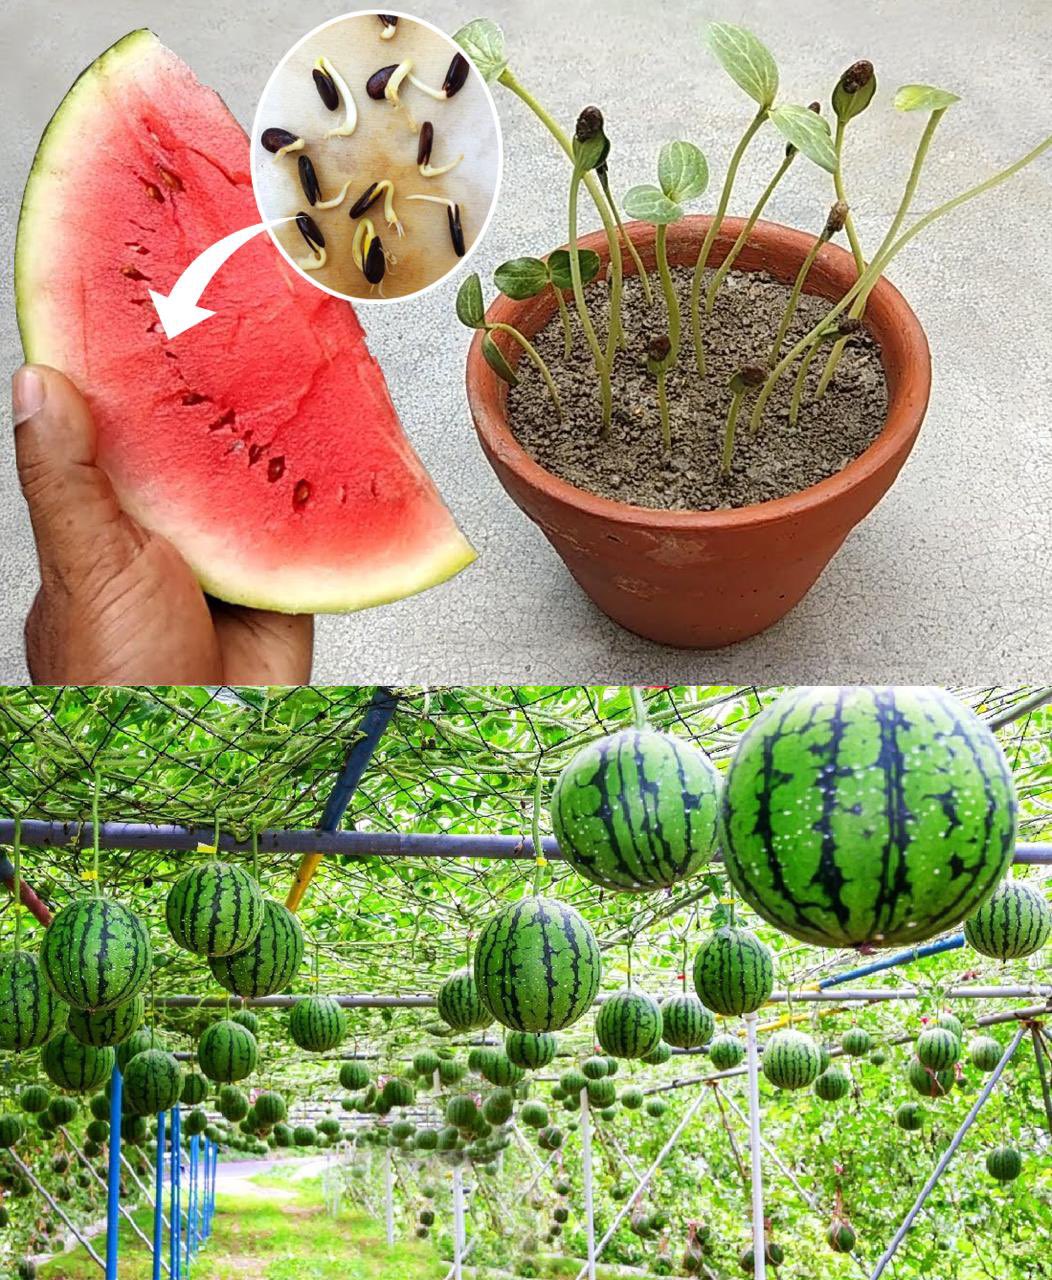
- Planting Seeds: Sow 2-3 watermelon seeds about 1 inch deep in the center of the container. Once the seeds germinate and seedlings emerge, thin them out to leave the strongest plant.
- Spacing: If using multiple containers, space them at least 2 feet apart. This spacing ensures adequate air circulation and sunlight exposure for each plant.
4. Watering and Sunlight
- Watering: Watermelons need consistent moisture. Water deeply, allowing the top 1-2 inches of soil to dry out slightly between watering. Overwatering can lead to root rot, so balance is key.
- Sunlight: Place the container in a location that receives full sun, ideally 8-10 hours of direct sunlight per day. Adequate sunlight is crucial for healthy growth and fruit development.
5. Care and Maintenance
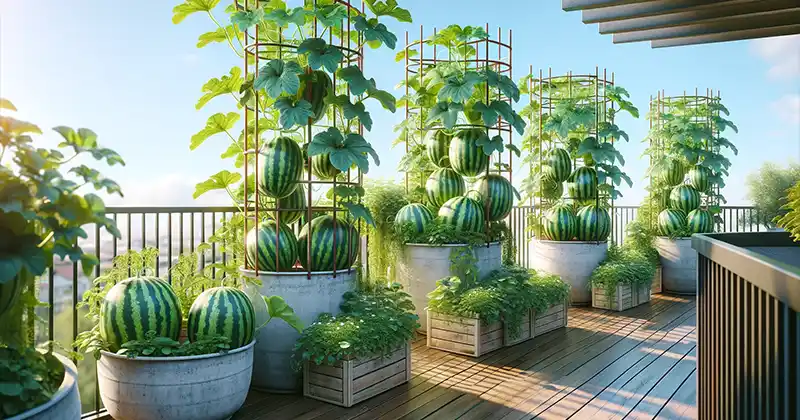
- Support: Install a sturdy trellis or support framework for the vines to climb. This helps improve air circulation, supports fruit development, and keeps the fruit off the ground.
- Fertilization: Use a balanced, slow-release fertilizer or a water-soluble fertilizer at half strength every 4 weeks. Follow the manufacturer’s instructions for application rates.
- Pruning: Regularly prune excess vines and leaves. This helps concentrate the plant’s energy on fruit production and prevents overcrowding.
6. Pest and Disease Management
- Pests: Watch for common pests like aphids and spider mites. Use organic pest control methods, such as insecticidal soap or neem oil, to manage infestations.
- Diseases: Prevent fungal diseases like powdery mildew by ensuring adequate spacing and air circulation. Apply eco-friendly fungicides if needed, and avoid overhead watering.
7. Harvesting
- Timeline: Watermelons typically mature in 80-100 days, depending on the variety. Check the seed packet or plant label for specific maturity times.
- Signs of Maturity: A ripe watermelon will have a dull sound when tapped. The underside where it rests on the ground should turn from white to a yellowish color.
- Harvesting Method: Cut the fruit from the vine with garden shears, leaving a few inches of stem attached. Handle the fruit carefully to avoid bruising.
Growing watermelons in containers is a rewarding endeavor that combines creativity with practical gardening techniques. By selecting the right container, choosing suitable varieties, and providing consistent care, you can enjoy fresh, homegrown watermelons even in limited spaces. Embrace the learning process, and celebrate each step towards a bountiful harvest.
Happy gardening! 🌱🍉

