The Ultimate Guide to Growing Tomatoes: From Seedlings to Harvest
Tomatoes are a staple in gardens and kitchens worldwide, prized for their versatility and rich flavor. Growing tomatoes successfully involves careful planning and attention to detail. This guide will walk you through each step, from starting seedlings to achieving a bountiful harvest.
1. Starting with Seedlings
Timeline: Approximately 110 days from planting to harvest.
Indoor Seedling Preparation:
- Start Early: Begin growing seedlings indoors 6-8 weeks before the last expected frost. This gives the plants time to develop before they face outdoor conditions.
- Containers: Use seed trays or small pots with good drainage.
- Soil: Fill containers with a seed-starting mix or a light, well-draining soil.
- Light: Place seedlings under grow lights or in a sunny window to ensure they receive at least 12-16 hours of light daily.
- Watering: Keep the soil moist but not waterlogged. Use a spray bottle to gently water the seedlings.
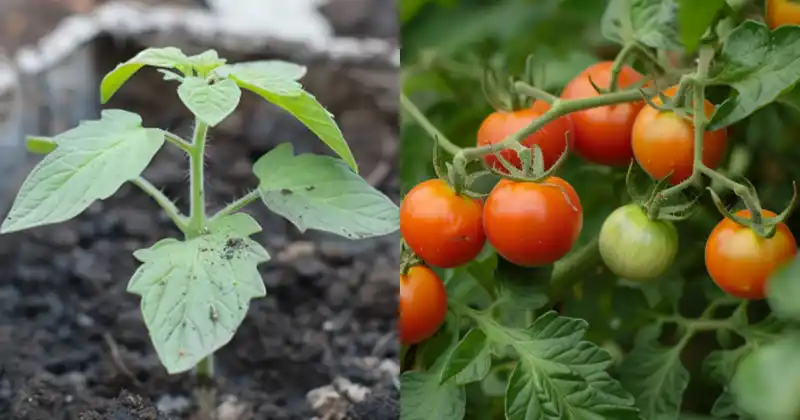
2. Transplanting to the Garden
Timing: Transplant seedlings after the danger of frost has passed and when soil temperatures are consistently above 60°F (15°C).
Transplanting Steps:
- Depth and Positioning:
- Plant Deep: Bury the seedlings up to the third leaf node. This encourages the growth of additional roots along the buried stem, enhancing stability and nutrient absorption.
- Spacing: Space tomato plants 18-24 inches apart to allow for adequate growth and air circulation.
- Removing Lower Leaves:
- Preparation: Remove the bottom three leaves from the seedling before planting. This promotes better air circulation and reduces disease risk.
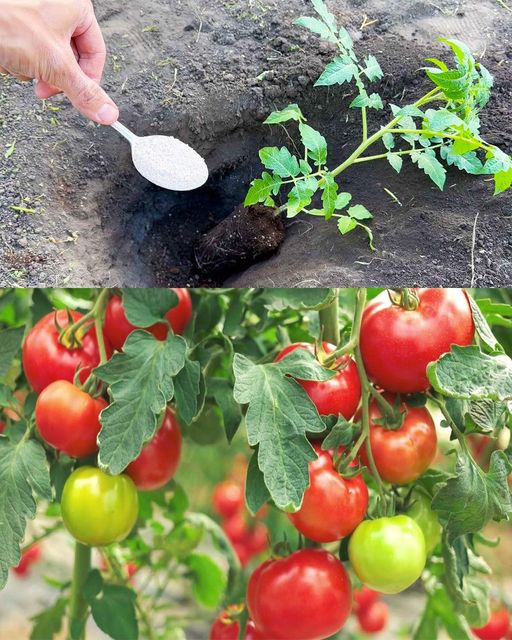
- Enriching the Soil:
- Eggshells: Incorporate crushed eggshells into the planting hole. Eggshells provide calcium, preventing blossom end rot and supporting root development.
- Preparation: Grind shells finely and add one tablespoon per hole.
- Eggshells: Incorporate crushed eggshells into the planting hole. Eggshells provide calcium, preventing blossom end rot and supporting root development.
- Nurturing with Eggshell Fertilizer:
- Preparation:
- Crush and Soak: Wash and dry shells from ten eggs, crush finely, and soak in 500 ml of 9% vinegar for 5-7 days. Stir occasionally.
- Application: Strain and dilute one tablespoon of the liquid in one liter of water. Apply 500 ml per plant every 10-14 days during fruiting.
- Preparation:
3. Alternative Organic Fertilizers
Chicken Manure:
- Use: Add a handful of well-rotted chicken manure to each planting hole. This boosts nitrogen, phosphorus, potassium, and essential microelements.
Crushed Peas:
- Use: As an alternative, use crushed peas. They provide organic nitrogen and microelements. Add a tablespoon to each hole, mix with soil, and cover before planting.
4. Planting Tips for Optimal Growth
Timing:
- Transplanting: Choose late afternoon or cloudy days to reduce transplant shock.
Orientation:
- Planting Angle: Lay seedlings on their sides at a slight angle, burying up to the third leaf node. This technique strengthens leggy plants and supports robust growth.
Watering and Protection:
- Initial Watering: Water thoroughly with warm water after planting.
- Shielding: Protect plants from direct sunlight initially to help them acclimate.
5. Boosting Plant Health
Initial Feeding:
- Purpose: Provide a powerful initial feeding to enhance plant immunity, stress resistance, and growth energy. This boost is crucial for strong development.
Additional Tips:
- Disease Prevention: Regularly inspect plants for signs of disease and pests.
- Support: Use stakes or cages to support growing tomato plants and prevent them from sprawling on the ground.
By following these steps, you’ll set the stage for a thriving tomato garden that yields a plentiful harvest. From starting seedlings to providing the right nutrients, each action contributes to the success of your tomato plants. For more in-depth guidance on tomato cultivation, check out our comprehensive resources and tips. Happy gardening!