DIY Zero-Cost Drip Irrigation System
Creating a drip irrigation system with household items is a great way to ensure your garden gets the water it needs efficiently, while keeping costs at zero. This simple, effective method will help you water your plants without the expense of commercial systems. Here’s how to build your own drip irrigation system using just a few materials:
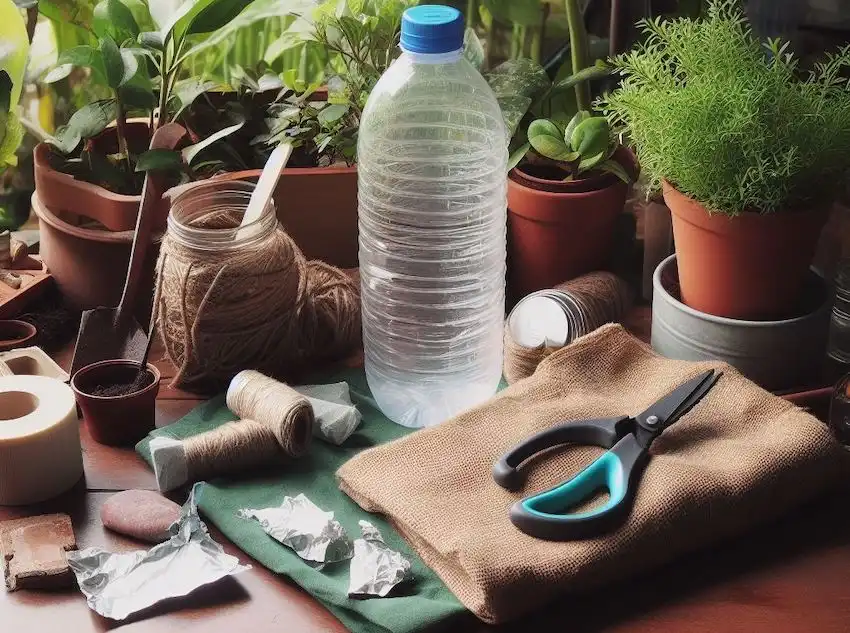
Materials Needed
- 5L Plastic Bottle (bottom part)
- 2L Plastic Bottle
- Cloth
- Aluminum Foil
Step-by-Step Guide
1. Preparing the Components
- Cut the 5L Bottle:
- Remove the bottom 10 cm portion from the 5L plastic bottle. This will serve as the reservoir.
- Prepare the 2L Bottle:
- Create a hole about 9 cm from the bottom of the 2L plastic bottle. This hole should be slightly below where the 5L bottle will sit.
2. Constructing the Drip Mechanism
- Wrap the Cloth:
- Cut a piece of cloth into strips and wrap them with aluminum foil, leaving a portion of the cloth exposed. This wrapped cloth will function as the ‘pipe’ for controlled water flow.
- Ensure one end of the cloth protrudes out of the aluminum foil wrapping.
3. Setting Up the System
- Place the Components:
- Position the 5L bottle’s bottom part (the reservoir) with the cloth ‘pipe’ inside, making sure the protruding end is in the reservoir.
- Extend the cloth ‘pipe’ through the plant area you wish to irrigate.
- Support the Pipe:
- Place the 2L bottle on top of the cloth to support it and keep it in place.
4. Protecting from Sunlight
- Cover the System:
- To minimize water evaporation from sunlight exposure, cover the entire system with a piece of cloth or place it in a shaded area. This will help maintain water efficiency and system performance.
5. Initiating Water Flow
- Fill and Adjust:
- Fill the 2L bottle with water and unscrew the cap to begin water flow into the system. Tighten the cap to control the flow rate. It typically takes about 10-15 minutes for the drip mechanism to start functioning.
6. Installation in the Garden
- Replicate as Needed:
- Set up additional systems as necessary for different plants or garden areas. Direct the cloth ‘pipe’ to deliver water directly to the plant’s root zone for efficient watering.
7. Water Efficiency and Maintenance
- Monitor and Refill:
- The system will use water efficiently and last throughout the day. Monitor the water level and refill the 2L bottle as needed. Reinstall the bottle into the system to continue irrigation.
Tips for Success
- Cloth Quality: Use a cloth that is absorbent and durable to ensure consistent water flow.
- System Placement: Position the system where it will be most effective, ensuring the cloth ‘pipe’ reaches the root zones of the plants.
- Regular Checks: Periodically check the system for any blockages or issues with the water flow.
This zero-cost drip irrigation system is an innovative way to keep your garden hydrated efficiently using materials you already have at home. By reducing water waste and minimizing expenses, this DIY solution is both environmentally friendly and practical. Enjoy the benefits of a well-watered garden without breaking the bank!