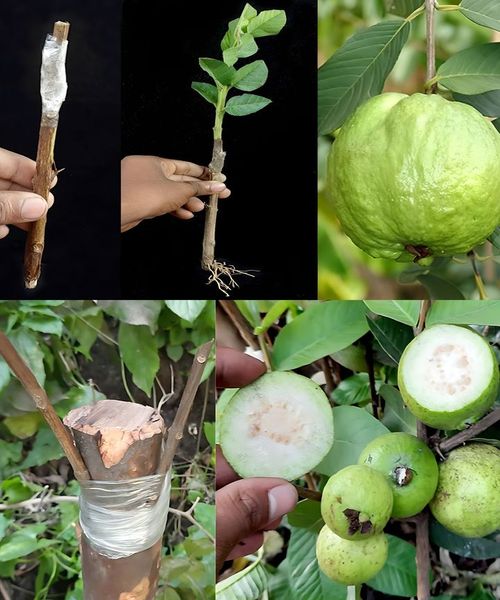
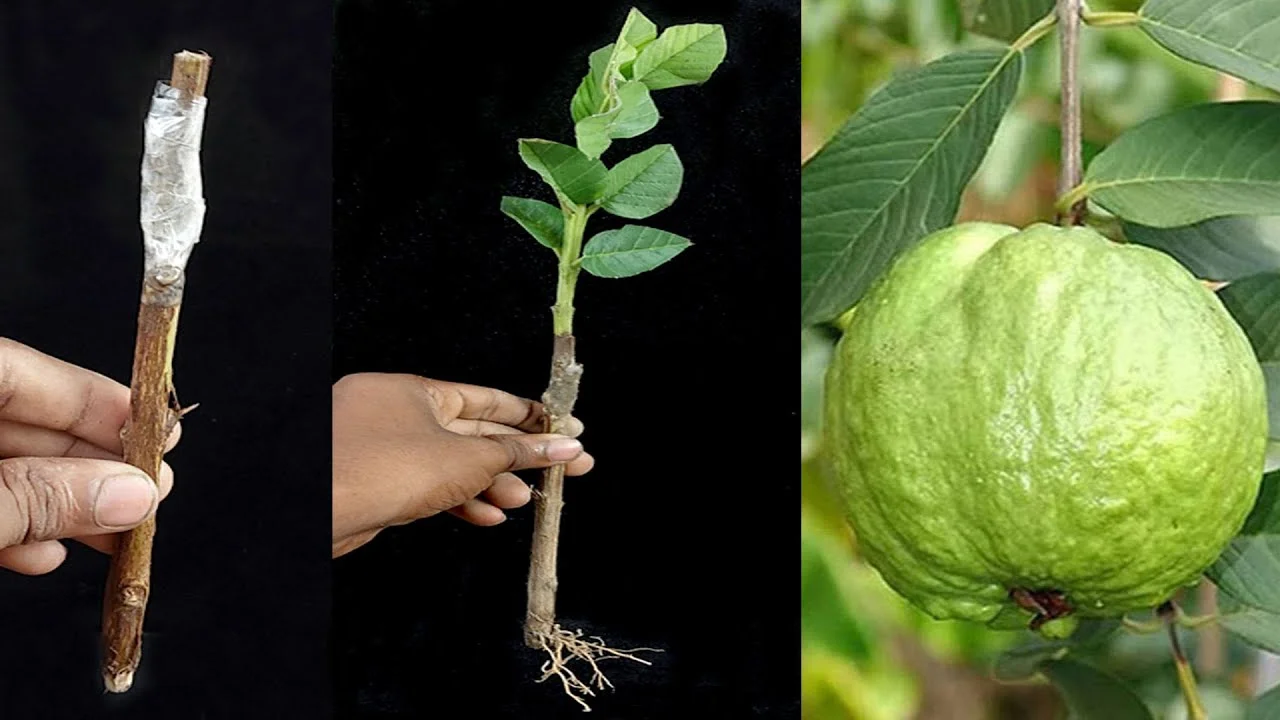
Grafting a Guava Tree: A Comprehensive Guide
Grafting is a valuable technique for propagating fruit trees, including guava. By combining a healthy rootstock with a desirable scion, you can create a tree with enhanced characteristics. Here’s a detailed guide on how to effectively graft a guava tree using the whip and tongue method.
Materials Needed
- Healthy Guava Rootstock: A robust, disease-free plant with a diameter similar to the scion.
- Desired Guava Scion: A young branch or bud from a mature, healthy guava tree.
- Sharp Grafting Knife or Pruning Shears: For making clean cuts.
- Grafting Tape or Rubber Bands: To secure the graft.
- Grafting Wax or Sealant: To protect the graft union.
- Clean Cloth: For wiping tools and hands.
- Disinfectant Solution: For sterilizing tools.
Step-by-Step Instructions
1. Select the Rootstock and Scion
- Why It Matters: Healthy and compatible plant parts are crucial for a successful graft.
- Tip: Choose a rootstock that is disease-free and similar in diameter to the scion. Ensure the scion has at least two to three healthy buds.
2. Prepare the Tools and Materials
- Why It Matters: Clean tools prevent disease and ensure clean cuts.
- Tip: Disinfect your grafting knife or pruning shears with a disinfectant solution. Organize all materials for easy access.
3. Make the Cuts
- Why It Matters: Clean, precise cuts improve graft success.
- Tip: For the whip and tongue graft:
- Rootstock: Make a slanting cut about 1-2 inches long.
- Scion: Make a matching slanting cut on the scion, then make a small vertical cut (tongue) on both the rootstock and scion to interlock them.
4. Join the Rootstock and Scion
- Why It Matters: Proper alignment of cambium layers (the growing part of the stem) is essential for grafting success.
- Tip: Fit the scion and rootstock together, ensuring that the cambium layers touch. The interlocking tongues should securely hold the pieces together.
5. Secure the Graft
- Why It Matters: Securing the graft prevents movement and desiccation.
- Tip: Wrap grafting tape or rubber bands around the graft union tightly, but not so tight that it damages the tissues. Cover the entire graft area, including the cut surfaces.
6. Seal the Graft
- Why It Matters: Sealing protects against moisture loss and infection.
- Tip: Apply grafting wax or sealant over the graft union and any exposed areas to maintain moisture and protect from diseases.
7. Care for the Grafted Plant
- Why It Matters: Proper care ensures the graft heals and the plant grows successfully.
- Tip: Place the grafted plant in a shaded, sheltered location. Water regularly, avoiding waterlogging. Gradually introduce the plant to more sunlight as it starts to grow.
8. Monitor and Maintain
- Why It Matters: Regular monitoring helps in early detection of issues.
- Tip: Check the graft frequently for signs of growth or any problems. Once the graft is secure and the plant is growing well, remove the grafting tape or rubber band.
Conclusion
The whip and tongue grafting method is an effective way to propagate guava trees. By selecting healthy rootstock and scion, making precise cuts, and securing and sealing the graft properly, you can successfully grow a guava tree that inherits desirable traits from both plants. With careful attention and patience, your grafted guava tree will flourish and yield delicious fruit for years to come.

