The Importance of Removing Lower Leaves from Tomato Plants
Tomato plants are a beloved staple in home gardens, renowned for their juicy, flavorful fruits. To maximize your tomato yield and ensure healthy growth, proper care is essential. One often-overlooked practice is the removal of lower leaves. This article explores the benefits of this technique and provides a step-by-step guide on how to do it effectively.
Why Remove Lower Leaves?
1. Disease Prevention
Lower leaves are more susceptible to soil-borne diseases, as they often come into contact with the ground. Pathogens like blight can splash onto these leaves during watering or rain, leading to infection. By removing the lower leaves, you create a buffer that reduces the risk of disease spreading to the rest of the plant.
2. Improved Air Circulation
Tomato plants can become bushy, leading to poor air circulation, especially at the base. This humid environment can promote fungal diseases. Removing lower leaves enhances airflow around the plant, reducing humidity and the likelihood of infections. Better air circulation also helps the plant dry faster after watering or rainfall.
3. Enhanced Sunlight Exposure
Sunlight is vital for photosynthesis. Lower leaves often receive less light due to shading from upper leaves. By removing these less productive leaves, more sunlight reaches the upper parts of the plant, promoting healthier growth and improved fruit production.
4. More Efficient Nutrient Use
Older, lower leaves can drain nutrients without contributing significantly to the plant’s health. Removing these leaves allows the plant to redirect energy and nutrients to developing fruit and new growth, resulting in larger, tastier tomatoes.
5. Easier Watering and Harvesting
Pruning lower leaves simplifies watering and harvesting. With less foliage at the base, you can water directly at the root zone, ensuring the plant gets the moisture it needs. Additionally, harvesting ripe tomatoes becomes easier without navigating through dense leaves.
How to Remove Lower Leaves: A Step-by-Step Guide
- Gather Your Tools
- Use clean, sharp scissors or pruning shears to prevent disease spread.
- Identify Leaves to Remove
- Look for leaves touching the ground or those that are yellowing or diseased.
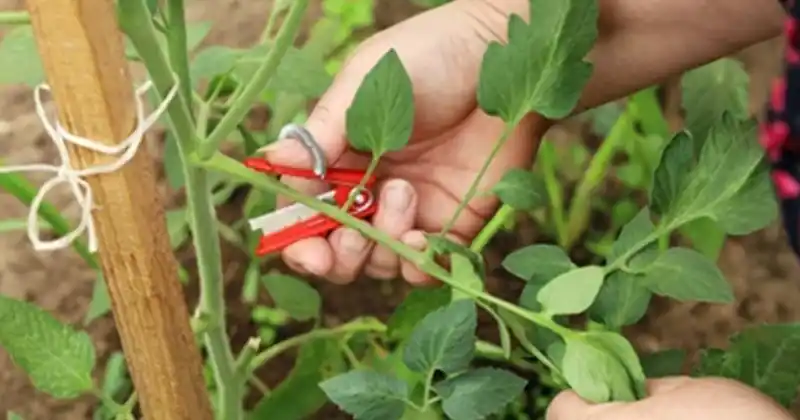
- Make Clean Cuts
- Cut the leaves close to the main stem, avoiding damage to the stem itself. Prune on dry days to minimize disease risk.
- Dispose of Removed Leaves
- Do not leave removed leaves near your plants. Dispose of them in a hot compost pile or discard them.
- Regular Maintenance
- Regularly check your plants throughout the growing season and remove any new lower leaves that develop. Ongoing maintenance is key to keeping your plants healthy.
Conclusion
Removing lower leaves from tomato plants is a straightforward yet effective practice to boost their health and productivity. By preventing disease, enhancing air circulation, improving sunlight exposure, ensuring efficient nutrient use, and simplifying watering and harvesting, you can enjoy a bountiful harvest of delicious tomatoes.
Incorporate this practice into your gardening routine, and you’ll notice a significant difference in the vitality and yield of your tomato plants. Happy gardening!